Hey there! If you’re like me, you’ve probably had your fair share of frustrating DIY projects where hammering nails just doesn’t cut it. That’s why I’m here to help you master the art of using a nail gun effectively. In this beginner’s guide, I’ll walk you through everything you need to know to become a pro at handling this powerful tool. From understanding the different types of nail guns to loading nails and proper positioning, I’ve got your back. We’ll cover safety precautions, techniques for accurate nailing, and even maintenance tips to keep your nail gun in top shape. So grab your gear and let’s dive into the world of nail gun mastery!
Types of Nail Guns
When learning how to use a nail gun effectively, it is essential to understand the different types available. There are three main types of nail guns: pneumatic, cordless, and electric. Each type has its pros and cons. Pneumatic nail guns are popular among professionals for their power and reliability. They require an air compressor to operate, which can limit mobility. Cordless nail guns, on the other hand, offer greater portability and freedom of movement. However, they may not have as much power as pneumatic nail guns and need to be recharged regularly. Electric nail guns are convenient for smaller projects and do not require an air compressor or battery. However, they may lack the power needed for heavy-duty tasks. Understanding the different types of nail guns will help you choose the right one for your specific needs.
Selecting the Right Nail Gun for Your Project
When it comes to selecting the right nail gun for your project, there are a few key points to consider. First, you’ll need to decide on the power source options, such as pneumatic, electric, or cordless. Next, you should ensure that the nail gun is compatible with the size of nails you plan to use. Lastly, think about any project-specific features that may be necessary, such as depth adjustment or a bump fire mode.
Power Source Options
I prefer using a cordless nail gun for its convenience and mobility. When it comes to power source options for nail guns, there are a few factors to consider. Here are four key points to help you select the right nail gun for your project:
-
Cordless vs. Pneumatic: Cordless nail guns are powered by batteries, while pneumatic ones use compressed air. Cordless nail guns offer the advantage of portability, allowing you to work anywhere without the need for an air compressor and hoses.
-
Battery Life Estimation: Look for a nail gun with a long battery life, especially if you have large projects that require extended periods of use. Consider the type of battery used and its capacity to ensure it can handle your workload.
-
Charging Time: Check the charging time of the nail gun’s battery. Opt for a model with a quick charging feature so you can minimize downtime and keep your project on track.
-
Backup Battery: It’s always a good idea to have a backup battery on hand, especially for longer projects. This ensures that you can continue working without interruption and complete your project efficiently.
Nail Size Compatibility
To ensure optimal performance and safety, selecting the right nail gun for your project requires considering the compatibility of nail sizes. Using the wrong nail size can result in poor quality work, damage to the materials, or even accidents. When choosing a nail gun, it is important to check its nail size compatibility. Different nail guns are designed to work with specific nail sizes, and using the wrong size can lead to jamming or misfires. Before starting your project, make sure to read the manufacturer’s instructions and guidelines to determine the appropriate nail size for your nail gun. Additionally, regular nail gun maintenance is crucial for its longevity and efficiency. Cleaning the nail gun regularly and lubricating its parts will prevent jamming and ensure smooth operation. If you encounter any issues, refer to the troubleshooting tips provided by the manufacturer or seek professional assistance.
Project-Specific Features Needed?
Considering the compatibility of nail sizes, it is crucial to determine if project-specific features are needed when selecting the right nail gun. To avoid common mistakes and ensure the success of your project, here are four factors to consider:
-
Power source: Depending on the scale of your project, you may need a nail gun that is battery-powered, pneumatic, or electric. Each power source has its own advantages and limitations, so choose the one that suits your needs best.
-
Nail type: Different projects require different types of nails, such as framing nails, finishing nails, or brad nails. Make sure the nail gun you choose is compatible with the specific nail type you will be using.
-
Depth adjustment: Some projects may require nails to be driven flush with the surface, while others may need them to be countersunk. Look for a nail gun that offers easy depth adjustment to ensure consistent and professional results.
-
Magazine capacity: The size of your project will determine how many nails you need to fire before reloading. Consider the magazine capacity of the nail gun to avoid frequent interruptions and increase efficiency.
Safety Precautions and Protective Gear
When it comes to using a nail gun, safety should be your top priority. It is essential to have the proper safety gear, such as safety glasses, ear protection, and gloves, to protect yourself from potential hazards. Additionally, it is important to learn and practice proper handling techniques to minimize the risk of accidents or injuries.
Essential Safety Gear
For effective use of a nail gun, it is crucial to have the necessary safety gear. Here are four essential safety precautions and protective gear items to consider:
- Eye Protection: Invest in a pair of safety goggles to shield your eyes from flying debris and prevent any potential eye injuries.
- Hearing Protection: Nail guns can be loud, so wearing earplugs or earmuffs can help protect your hearing from prolonged exposure to loud noise.
- Gloves: Choose sturdy work gloves that provide a good grip and protect your hands from potential injuries or splinters.
- Respiratory Protection: To avoid inhaling dust or fumes, wear a respirator mask when working in dusty or poorly ventilated areas.
Proper Handling Techniques
My recommended approach to proper handling techniques of a nail gun includes utilizing the necessary safety gear. Safety should always be the top priority when using a nail gun. To ensure safe operation, it is important to wear the appropriate protective gear, such as safety glasses, ear protection, and a dust mask. Additionally, always keep your fingers away from the trigger and the nail gun’s muzzle. Proper handling techniques also include regular nail gun maintenance and troubleshooting techniques. It is crucial to regularly clean and inspect your nail gun to prevent malfunctions. Troubleshooting techniques involve identifying and resolving common issues, such as misfires or jams. By following these proper handling techniques, you can ensure your safety and the efficient operation of your nail gun.
| Proper Handling Techniques | Safety Gear |
|---|---|
| Wear safety glasses, ear protection, and a dust mask | Safety glasses, ear protection, dust mask |
| Keep fingers away from the trigger and muzzle | None |
| Regularly clean and inspect the nail gun | None |
| Troubleshoot common issues like misfires or jams | None |
Loading Nails Into the Nail Gun
To load nails into the nail gun, I simply slide open the magazine and insert the nails in a straight line. Here are the steps I follow to ensure proper loading:
-
Prepare the nail gun: Before loading nails, always make sure the nail gun is turned off and disconnected from the power source. This ensures safety during the loading process.
-
Open the magazine: Locate the magazine on the nail gun and slide it open. This provides access to the nail chamber where the nails will be loaded.
-
Insert the nails: Take a strip of nails and align them in a straight line, with the nail heads facing towards the nail gun. Carefully insert the strip into the magazine, making sure the nails are properly seated.
-
Close the magazine: Once all the nails are inserted, gently push the magazine back into its original position until it clicks into place. This ensures that the nails are securely held in the nail gun.
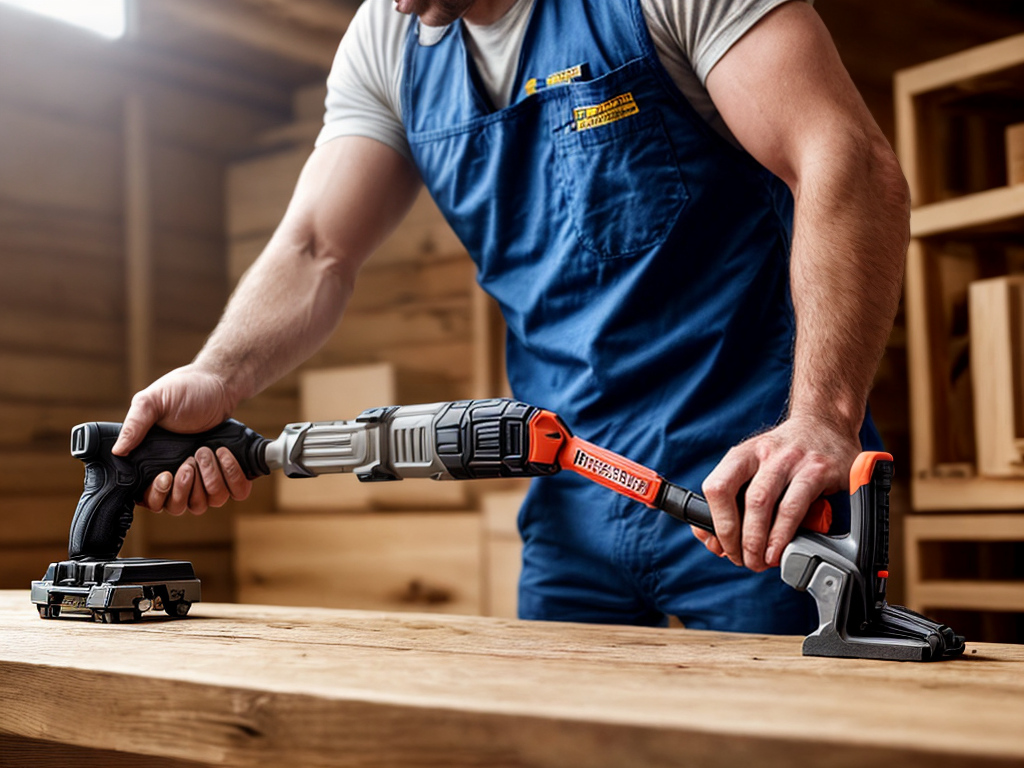
Proper Handling and Positioning of the Nail Gun
When handling and positioning the nail gun, it is essential to maintain a firm grip and ensure proper alignment with the target surface. This not only improves accuracy but also helps prevent accidents and nail gun jams. To maintain a firm grip, I recommend using both hands, with one hand on the handle and the other supporting the weight of the tool. Additionally, it is crucial to position the nail gun perpendicular to the surface to ensure proper nail penetration. Regular nail gun maintenance is also essential to prevent jams. This includes cleaning the gun regularly, removing any debris or dust that may accumulate, and checking for any loose parts or damage. By following these guidelines, you can handle and position the nail gun effectively, minimizing the risk of accidents and maximizing efficiency.
Techniques for Accurate and Efficient Nailing
Maintaining a firm grip and proper alignment with the target surface are crucial for accurate and efficient nailing. To ensure your nailing technique is both effective and efficient, here are some key tips:
-
Choose the right nail size: Using nails that are too long or too short can result in weak connections or damage to the material. Select nails that are appropriate for the task at hand.
-
Hold the nail gun steady: Maintain a steady grip on the nail gun to prevent it from shifting or wobbling during nailing. This will help achieve precise and consistent nail placement.
-
Position the nail gun correctly: Align the tip of the nail gun with the desired nailing point, ensuring that it is perpendicular to the surface. This will help prevent the nails from bending or going off course.
-
Avoid overdriving: Overdriving nails can weaken the material and compromise the integrity of the connection. Stop nailing just as the nail head is flush with the surface to prevent this common mistake.
Maintenance and Troubleshooting Tips for Your Nail Gun
I always make sure to regularly perform maintenance on my nail gun to ensure optimal performance and prevent any potential issues. Here are some maintenance tips and troubleshooting techniques that I find helpful in keeping my nail gun in top shape.
First, it’s essential to clean your nail gun regularly. Remove any dirt, debris, or residue from the magazine and the firing mechanism. Lubricate the moving parts with a few drops of oil to prevent rust and ensure smooth operation.
Second, check the nails you are using. Make sure they are the correct size and properly loaded into the magazine. Using the wrong size or bent nails can cause jams and misfires.
Lastly, if you encounter any issues with your nail gun, troubleshoot by checking the battery or air pressure, inspecting for any damaged parts, and consulting the manufacturer’s manual for specific troubleshooting steps.


