I love working on projects in my garage workshop, but I always struggled with finding a sturdy workbench that met my needs. So, I decided to take matters into my own hands and construct a simple workbench myself. In this guide, I will share with you the step-by-step process of building a workbench that is perfect for your garage workshop. From gathering the necessary materials to adding storage options and accessories, I will provide you with all the information you need to create a functional and practical workbench. Whether you’re a seasoned DIY enthusiast or just starting out, this guide will help you master the art of constructing a workbench that suits your needs and enhances your garage workshop experience.
Gathering the Necessary Materials
To gather the necessary materials for constructing a simple workbench for my garage workshop, I will need to make a list and head to the hardware store. Building supplies are essential to ensure a sturdy and functional workbench. When considering workbench design, it is crucial to select materials that are durable and can withstand heavy use. For the frame, I will need sturdy lumber such as 2x4s, which provide stability and strength. Additionally, I will need plywood for the work surface, ensuring a smooth and flat work area. Other materials include screws, nails, and wood glue to secure the pieces together. By carefully selecting the building supplies, I can create a workbench that will support my projects and withstand the test of time.
Measuring and Cutting the Workbench Frame
When it comes to measuring and cutting the workbench frame, there are a few key points to keep in mind. First, it’s important to determine the ideal dimensions for the frame based on your specific needs and available space. Additionally, having the essential cutting tools, such as a circular saw or miter saw, will ensure accurate and precise cuts. Lastly, using proper measuring techniques, such as using a tape measure or square, will help you achieve the desired dimensions for your workbench frame.
Ideal Frame Dimensions
I measured and cut the workbench frame to achieve the ideal dimensions. When determining the frame dimensions, I carefully considered two factors: space considerations and weight capacity. Here are the key points to keep in mind:
-
Space considerations:
-
Assess the available area in your garage workshop to ensure the workbench fits comfortably without hindering other activities.
-
Take into account any obstructions such as shelves, cabinets, or doors that may limit the size and placement of the workbench.
-
Weight capacity:
-
Determine the maximum weight the workbench needs to support based on the types of projects you’ll be working on.
-
Use sturdy materials and construction techniques to ensure the frame can handle the intended load without sagging or collapsing.
Essential Cutting Tools
After considering the ideal frame dimensions, I moved on to using my essential cutting tools to measure and cut the workbench frame. To ensure accuracy, I employed different cutting techniques and selected the right cutting tools for each task. For measuring, a tape measure with clear markings and a solid locking mechanism was indispensable. I used a combination square to mark the cut lines precisely, ensuring straight and square cuts. When it came to cutting the lumber, a circular saw with a sharp blade was my go-to tool. Its adjustable depth and angle settings allowed me to make accurate and clean cuts. Additionally, a miter saw was invaluable for making precise crosscuts and angled cuts. By employing these essential cutting tools and techniques, I achieved the desired dimensions and ensured a sturdy workbench frame.
Proper Measuring Techniques
To ensure accurate measurements and precise cuts for the workbench frame, I employed proper measuring techniques. Measuring accuracy is essential to ensure the workbench is level and sturdy. To achieve this, I chose the right measuring tools, such as a tape measure and a combination square. Here are some tips to help you achieve precise measurements:
- Use a tape measure with clear markings and a locking mechanism to prevent it from retracting.
- Take multiple measurements to verify accuracy and avoid errors.
- Measure twice, cut once.
- Use the same measuring tool consistently to maintain consistency.
Choosing the right measuring tools and following these techniques will ensure that your workbench frame is constructed accurately, making your garage workshop a haven for DIY projects.
Assembling the Workbench Frame
To assemble the workbench frame, begin by gathering all the necessary materials and tools. The stability of the workbench is crucial, so it is important to use appropriate joining techniques. Here is a table that outlines the materials and tools needed for assembling the workbench frame:
| Materials | Tools |
|---|---|
| 2×4 lumber | Tape measure |
| Plywood | Circular saw |
| Wood screws | Drill |
| Corner brackets | Screwdriver |
| Wood glue | Clamps |
Once you have gathered everything, start by measuring and cutting the lumber according to your desired dimensions. Next, using the joining techniques of your choice, attach the pieces together using wood glue and screws. Consider reinforcing the corners with corner brackets for added stability. Use clamps to hold the pieces in place while the glue dries. By following these steps and using the appropriate joining techniques, you will be able to assemble a sturdy workbench frame for your garage workshop.
Adding the Workbench Top
Now let’s talk about adding the workbench top. There are various material options to choose from, such as plywood, MDF, or solid wood, each with its own advantages and considerations. Once you’ve selected the material, the assembly and installation process is straightforward, involving attaching the top to the frame securely.
Material Options for Top
I will use a durable and versatile material for the top of my workbench. The choice of material for the workbench top is crucial as it determines the functionality and longevity of the workbench. There are several options available, each with its own pros and cons. Here are two sub-lists highlighting the different workbench designs and the pros and cons of each material option:
Different Workbench Designs:
- Solid wood top
- Plywood top
Pros and Cons of Each Material Option:
-
Solid wood top:
-
Pros: Provides a sturdy and stable surface, can withstand heavy loads, can be easily repaired or refinished.
-
Cons: Expensive, susceptible to warping or splitting over time.
-
Plywood top:
-
Pros: Cost-effective, provides a smooth and even surface, lightweight and easy to move around.
-
Cons: Not as durable as solid wood, may sag under heavy weight, limited resistance to moisture.
Choosing the right material for the workbench top will depend on your specific needs and preferences.
Assembly and Installation Process
After selecting the appropriate material for the workbench top, the next step is to assemble and install it. To ensure a smooth installation process, here are a few installation tips to keep in mind. First, make sure to measure and mark the placement of the workbench top on the base accurately. This will help avoid any misalignment issues later on. Additionally, use clamps to secure the top to the base before attaching it permanently. This will allow you to make any necessary adjustments before finalizing the installation. If you encounter any common issues during the installation, such as uneven edges or gaps, troubleshoot by sanding or filling them accordingly. Remember, attention to detail and precision are crucial when adding the workbench top to ensure a sturdy and functional workspace.
Installing Storage Options and Accessories
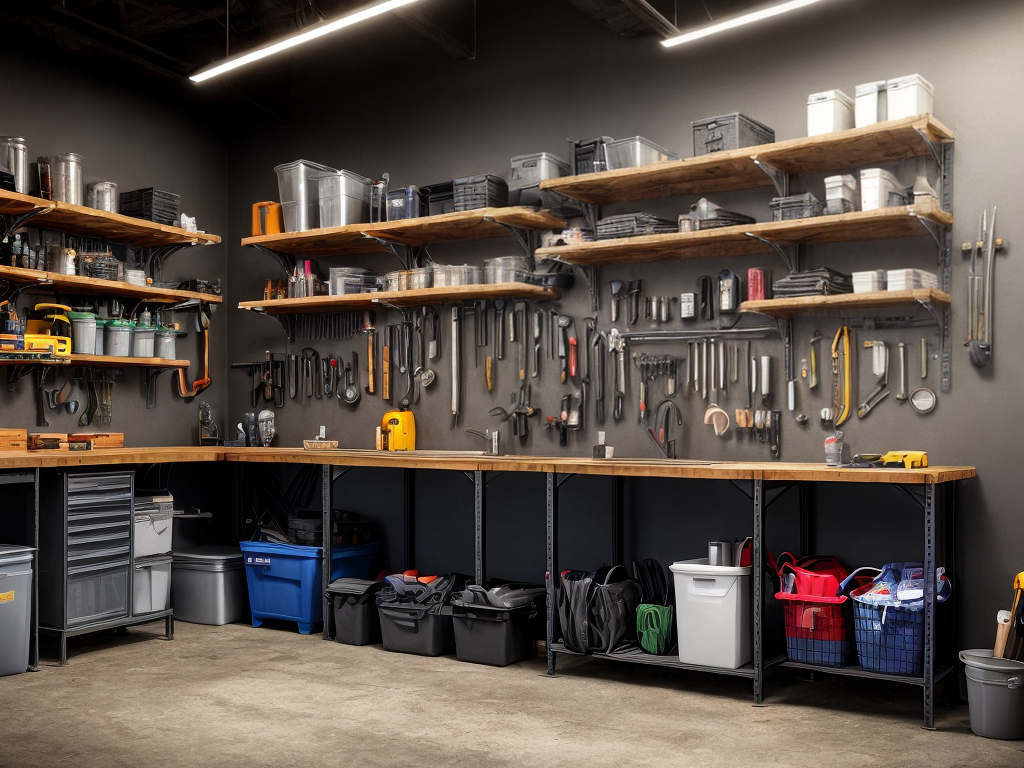
With the addition of storage options and accessories, my garage workshop becomes more organized and efficient. Installing shelving units is a great way to maximize space and keep tools easily accessible. Here are some tips for organizing tools on your workbench:
- Utilize pegboards: Hang frequently used tools on pegboards to keep them within reach and prevent clutter on your workbench.
- Use tool racks: Install tool racks on the wall to store larger tools such as hammers, wrenches, and screwdrivers.
- Label storage bins: Sort smaller tools and accessories into labeled storage bins to easily locate them when needed.
Finishing Touches and Customization Options
To further enhance the functionality and appearance of my garage workshop, I can explore various finishing touches and customization options. Customization ideas allow me to personalize my workbench and make it uniquely mine. I can start by adding a pegboard to keep my tools organized and easily accessible. This will not only save space but also increase efficiency. Another option is to install task lighting above the workbench, ensuring that I have adequate illumination for detailed work. Additionally, I can consider adding a power strip or a charging station to conveniently power my tools and devices. Personal touches such as adding a coat of paint or applying a protective finish can also elevate the aesthetics of the workbench. By incorporating these customization ideas and adding personal touches, I can create a workbench that meets my specific needs and reflects my style in the garage workshop.


