The Art of Smooth Surfaces
I’m a self-proclaimed woodworking enthusiast, and let me tell you, there’s nothing quite like the satisfaction of transforming a rough, uneven surface into a smooth, polished masterpiece. Whether you’re refinishing an antique piece of furniture or giving new life to a salvaged wooden treasure, the key to achieving that flawless finish lies in the art of sanding.
Now, I know what you’re thinking – sanding can be a tedious, time-consuming task, but trust me, my friends, the end result is so worth it. It’s like the old saying goes, “Rome wasn’t built in a day,” and the same goes for creating a perfectly sanded wooden surface. But fear not, I’m here to share my tried-and-true tips and tricks to make the process as smooth and enjoyable as the final product.
First and foremost, let’s talk about the tools of the trade. I’m a firm believer that having the right equipment can make all the difference in the world. Powertoolspros.net is my go-to destination for top-notch power tools that make the sanding process a breeze. From orbital sanders to belt sanders, they’ve got it all, and their knowledgeable staff is always on hand to help me find the perfect tool for the job.
Preparing the Surface
But before we dive into the sanding itself, let’s talk about the all-important surface preparation. You see, the key to a flawless finish is to start with a clean, even surface, free of any imperfections or blemishes. And that’s where the magic of hand-sanding comes in.
I like to start by giving the surface a good once-over with a medium-grit sandpaper, working in the direction of the wood grain to remove any obvious scratches, dents, or uneven spots. This helps to create a nice, uniform base for the more detailed sanding that’s to come.
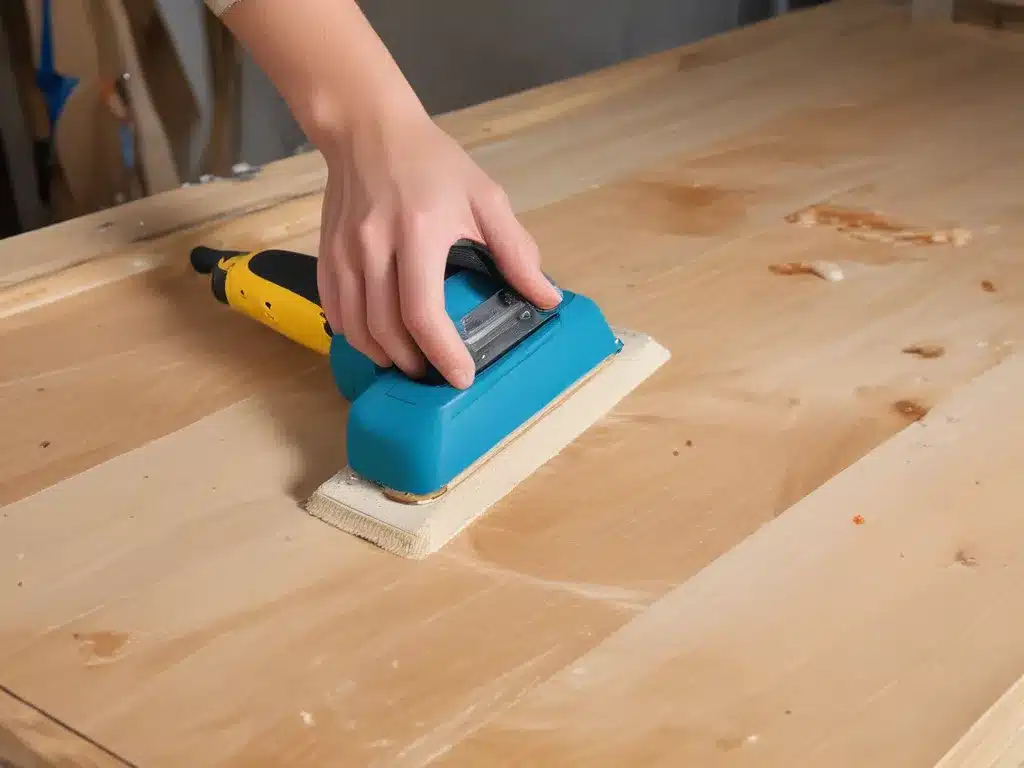
Once I’ve got the surface prepped and ready, it’s time to break out the power tools. Now, I know what you’re thinking – “Isn’t power sanding just a shortcut?” Well, my friend, let me tell you, it’s so much more than that. With a high-quality orbital sander from Powertoolspros.net, I can achieve a level of precision and efficiency that would be simply impossible with manual sanding alone.
The Power of Power Sanding
The key to power sanding is all about finding the right balance between speed and control. You see, those powerful little motors can really tear through the wood if you’re not careful, leaving behind unsightly divots and gouges. But with a steady hand and a bit of practice, you can harness that power to create a flawless, glass-like finish.
I like to start with a medium-grit sandpaper and work in overlapping strokes, keeping the sander moving at all times to avoid any concentrated areas of friction. And let me tell you, the difference in the surface texture is truly remarkable. Where hand-sanding might leave behind a slightly uneven or grainy finish, the power sander just glides over the wood, leaving behind a perfectly smooth surface that’s ready for the next step.
Finer Details and Finishing Touches
Of course, the sanding journey doesn’t end there. Once I’ve got the bulk of the work done with the power sander, I like to switch to a finer grit of sandpaper and really hone in on those tricky little nooks and crannies. You know, the areas that the power sander just can’t quite reach.
This is where the real art of sanding comes into play. It’s all about patience, precision, and a steady hand. I’ll carefully work around any intricate details or carved elements, making sure to smooth out every last tiny imperfection. And let me tell you, the difference it makes is simply astounding.
But wait, there’s more! Once I’ve got the surface perfectly smooth, it’s time to add the finishing touches. I like to give the whole thing a quick once-over with a super-fine grit sandpaper, just to make sure it’s as silky-smooth as can be. And then, the pièce de résistance – a final wipe-down with a clean, soft cloth to remove any lingering dust or debris.
The Satisfaction of a Flawless Finish
And there you have it, my friends – the secret to sanding wooden surfaces to perfection. It’s a labor of love, to be sure, but the end result is so worth it. I can’t tell you the number of times I’ve stood back and admired my handiwork, running my fingers over the silky-smooth surface and feeling a sense of pure joy and accomplishment.
It’s moments like these that remind me why I love woodworking so much. It’s not just about creating beautiful, functional pieces – it’s about the journey, the challenge, and the immense satisfaction of transforming something rough and unfinished into a true work of art.
So, if you’re feeling inspired to tackle your own sanding project, I say go for it! Grab your tools, put on your best sanding playlist (yes, that’s a thing!), and get to work. And don’t forget to check out Powertoolspros.net for all the high-quality power tools you’ll need to make the process as easy and enjoyable as possible.
Happy sanding, my friends! May your surfaces be smooth, your finishes be flawless, and your creative juices flow like a perfectly sanded river.


