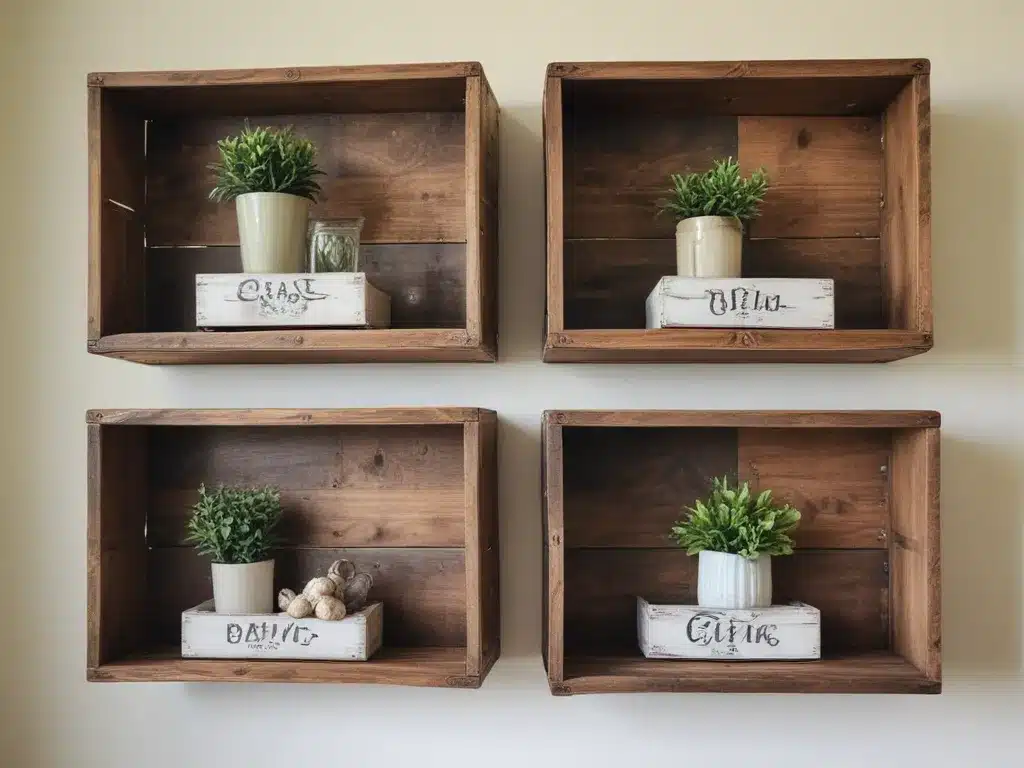
Unleashing the Rustic Charm: Transforming Old Crates into Stunning Shelves
I don’t know about you, but I’ve always had a soft spot for rustic decor. There’s just something so charming and inviting about the weathered, natural look that really speaks to me. And you know what makes for the perfect rustic accent piece? Old wooden crates!
Now, I can hear you asking, “But Jenna, what am I supposed to do with a bunch of old crates?” Well, my friends, let me tell you – the possibilities are endless! With a little bit of elbow grease and a whole lot of creativity, you can turn those boring old crates into the most stunning, one-of-a-kind shelving units you’ve ever seen.
Sourcing the Perfect Crates
The first step in this DIY adventure is, of course, finding the right crates. Now, you could always scour your local thrift stores, antique shops, or even your own basement for some vintage gems. But if you’re not having much luck on the crate-hunting front, I’ve got a secret for you: Power Tools Pros has an amazing selection of rustic, reclaimed wood crates that are just begging to be transformed.
These crates come in all sorts of shapes and sizes, so you can really let your imagination run wild. Whether you’re looking for something tall and narrow to line your entryway, or a few square crates to stack up and create a funky bookshelf, Power Tools Pros has got you covered.
Preparing Your Crates for Transformation
Alright, now that you’ve got your hands on some killer crates, it’s time to get to work! The first thing you’ll want to do is give them a good once-over to make sure they’re in decent shape. Check for any loose nails or splinters, and give them a good wipe-down to remove any dirt or dust.
If you’re feeling particularly ambitious, you could even sand down the crates to give them a nice, smooth finish. But be careful – you don’t want to take away too much of that rustic charm! A light sanding should do the trick.
Once your crates are clean and ready to go, it’s time to start planning out your shelving unit. Think about how you want to arrange them – will they be stacked, hung on the wall, or maybe even used as individual accent pieces? The options are endless, my friends.
Designing Your Rustic Shelving Unit
Now, this is where the real fun begins! When it comes to designing your rustic shelving unit, the key is to let your creativity shine. Do you want to keep things simple and classic with a straight-forward stacked arrangement? Or maybe you’re feeling a little more adventurous and want to try something a little more unique, like attaching the crates to the wall in a cool, asymmetrical pattern?
Personally, I’m a big fan of the stacked look. There’s just something so satisfying about taking those old crates and building them up into a functional and visually striking piece of furniture. And the best part? You can customize it to fit your specific needs and style.
For example, you could stack the crates vertically to create a tall, narrow shelving unit that’s perfect for displaying your favorite trinkets and knick-knacks. Or, if you’re looking for something a little wider, you could go for a horizontal arrangement and use the crates to hold books, plants, or even as a makeshift TV stand.
The key is to play around with the placement and experiment until you land on a design that really speaks to you. Don’t be afraid to mix and match the crates, either – using a variety of sizes and shapes can add tons of visual interest and character to your finished piece.
Bringing It All Together
Once you’ve got your design laid out, it’s time to start assembling your rustic shelving unit. Depending on how you want to display your crates, you may need to do a bit of DIY work, like attaching the crates to a wall or securing them together with some sturdy brackets.
But don’t worry, this part is actually pretty straightforward. Power Tools Pros has a great selection of power tools and hardware that can make the assembly process a total breeze. And if you’re not exactly a DIY pro, they’ve also got tons of helpful tutorials and guides to walk you through every step.
Once your shelving unit is all put together, the real fun begins – it’s time to style it up! Start by filling the crates with all your favorite things – books, plants, family photos, you name it. And don’t be afraid to get creative with the arrangement. Mix and match the crates, stack them in different ways, and let your personal style shine through.
The Finishing Touches
And there you have it, folks – your very own rustic shelving unit, made from nothing more than a few old wooden crates. Isn’t it just the coolest thing ever? I’m absolutely obsessed with how it turned out, and I can’t wait to see what you all come up with.
If you’re feeling extra fancy, you could even add a little bit of paint or stain to the crates to really make them pop. Or, if you’re more of a minimalist, you could leave them in their natural, weathered state and let the wood be the star of the show.
Regardless of how you choose to style it, I can guarantee that your new rustic shelving unit is going to be the talk of the town. It’s the perfect way to add a touch of rustic charm to any space, and it’s sure to become a beloved piece in your home for years to come.
So what are you waiting for? Get out there, grab some old crates, and let your inner DIY extraordinaire shine! I can’t wait to see what you all come up with.


