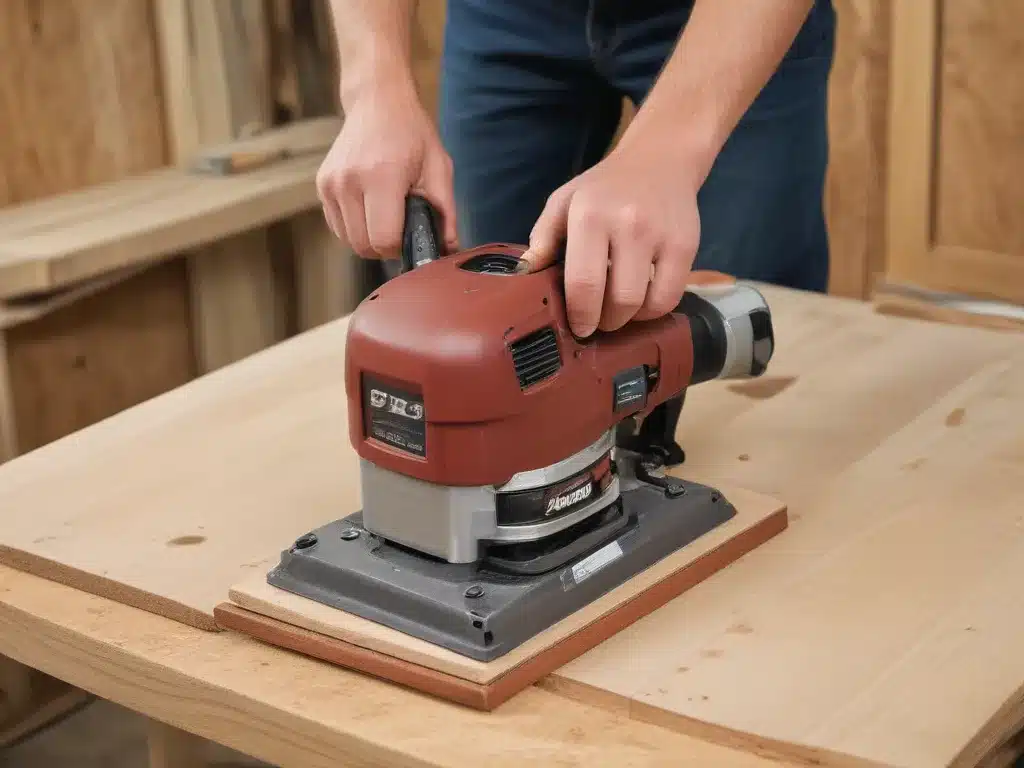
Ah, the humble belt sander – a power tool that may seem unassuming, but in the hands of a skilled craftsperson, it can transform even the most rudimentary piece of wood into a work of art. As a self-proclaimed woodworking enthusiast, I’ve had the pleasure of wielding this versatile tool on countless projects, and let me tell you, the results can be nothing short of jaw-dropping.
Mastering the Art of Belt Sanding
I still remember the first time I fired up my trusty belt sander, the gentle hum of the motor resonating through my workshop. I’ll admit, I was a bit intimidated at first – the sheer power of this machine, combined with the potential to completely ruin a project if not handled with care, was enough to make even the most experienced woodworker a little nervous. But, like with any skill, practice makes perfect, and I quickly learned that the belt sander is a tool that rewards patience, technique, and a keen eye for detail.
One of the keys to successful belt sanding is understanding the different grits of sandpaper and how to use them effectively. The lower the grit number, the coarser the paper, and the more material it will remove. I typically start with a 60-grit or 80-grit paper to quickly remove any major imperfections or uneven surfaces, then gradually work my way up to finer and finer grits, like 120-grit and 180-grit, to achieve a silky-smooth finish.
Of course, it’s not just about the sandpaper itself – the way you move the belt sander is just as important. I’ve learned to keep the sander moving in long, even strokes, applying gentle pressure and keeping the sanding surface flat against the workpiece. Rushing through this process or applying too much force can lead to uneven sanding, rounded edges, or even deep gouges that can be a real headache to fix.
Tackling Tricky Surfaces
But it’s not all smooth sailing, is it? No, sometimes we woodworkers have to get a little creative when dealing with those pesky hard-to-reach areas or tricky surface contours. That’s where the belt sander really shines, with its ability to conform to all sorts of shapes and sizes.
Take, for example, the delicate curves of a hand-carved chair leg. A traditional orbital sander would struggle to get into those tight spaces, but with a belt sander, I can gently guide the abrasive surface along the contours, carefully removing material until I’ve achieved the perfect, silky-smooth finish. And let’s not forget about the edges – the belt sander’s narrow profile makes it a breeze to sand down those sharp corners and transitions, ensuring a seamless, professional-looking result.
The Finishing Touches
Of course, once I’ve put in the hard work with the belt sander, the real magic happens in the final finishing touches. Whether it’s a rich, glossy lacquer or a warm, natural oil, the right finish can take a solid piece of wood and transform it into something truly breathtaking.
I’ll never forget the time I refinished an old, neglected dining table for a client. The wood had seen better days, with deep scratches and unsightly water stains marring the surface. But with my trusty belt sander and a little elbow grease, I was able to buff out those imperfections and bring the grain back to life. A few coats of a beautiful, hand-rubbed tung oil later, and the table looked like it had just been plucked from the showroom floor.
The look on my client’s face when they saw the finished product was priceless – a mixture of awe, gratitude, and pure delight. And that, my friends, is why I love working with power tools like the belt sander. It’s not just about the end result; it’s about the journey, the problem-solving, and the sheer satisfaction of transforming a piece of raw material into something truly extraordinary.
Unleashing Your Creativity
So, if you’re a fellow woodworking enthusiast, or even just someone who appreciates the beauty of a well-crafted piece, I encourage you to embrace the power of the belt sander. Experiment with different techniques, push the boundaries of what’s possible, and let your creativity shine through.
Who knows, maybe your next project will be the one that leaves your friends and family absolutely speechless. And when that happens, you can smile to yourself, knowing that it was the humble belt sander that helped you achieve that level of perfection.
Happy sanding, my fellow power tool aficionados! Let’s go make some sawdust.


